This manual guides users of the EOS 7D (firmware v1.1.0 or later). Downloadable PDF instructions are available on the Canon website, offering comprehensive support.
What is the Canon EOS 7D?

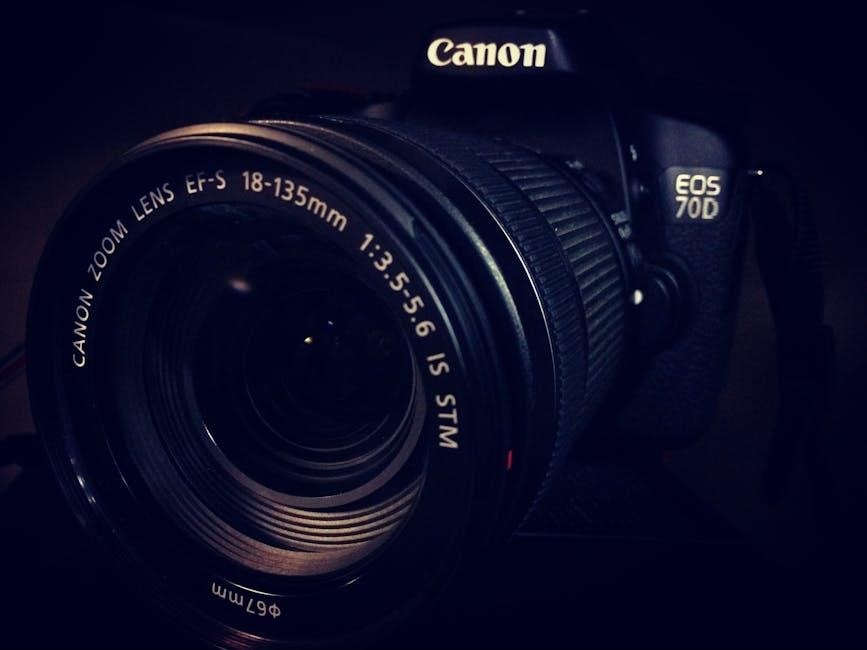
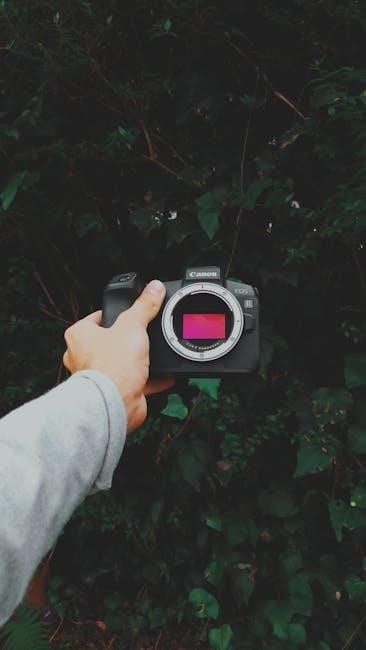
The Canon EOS 7D is a high-technology digital SLR camera designed for enthusiasts and professionals seeking exceptional image quality and performance. This camera, detailed within this instruction manual, boasts advanced features and customizable settings. It’s built to deliver stunning photographs and high-definition videos, catering to diverse shooting scenarios.
Specifically, this instruction applies to the EOS 7D Mark II with firmware version 1.1.0 or later. The camera’s capabilities are thoroughly explained, ensuring users can maximize its potential. The guide covers everything from basic operations to advanced techniques, helping photographers of all levels achieve optimal results. It’s a robust tool for capturing memorable moments with clarity and precision.
Target Audience for this Manual
This instruction manual is tailored for both amateur and professional photographers utilizing the Canon EOS 7D camera system. It’s designed for individuals eager to understand and fully utilize the camera’s extensive features, regardless of their prior experience. Whether you’re a beginner exploring DSLR photography or a seasoned professional seeking to refine your technique, this guide provides valuable insights.
The content assumes a basic familiarity with photographic principles, but explains all camera-specific functions in detail. Users who have recently purchased an EOS 7D, or those looking to upgrade their knowledge, will find this resource particularly helpful. It aims to empower photographers to confidently capture high-quality images and videos.

Camera Components and Controls
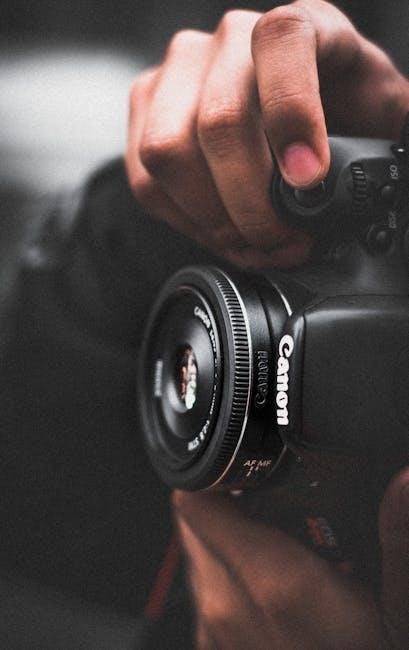
The EOS 7D is a high-tech digital SLR camera; understanding its external controls, buttons, and dials is crucial for optimal operation and image capture.
External Controls Overview
The Canon EOS 7D boasts a comprehensive array of external controls designed for intuitive operation and precise adjustments. Key elements include the prominent Mode Dial, enabling swift selection of shooting modes like Automatic, Aperture Priority, Shutter Priority, and Manual. Surrounding the shutter button are essential controls for zoom and focus.
The rear panel houses a multi-controller for navigating menus and selecting focus points, alongside buttons for accessing key settings such as ISO, white balance, and picture style. A dedicated Quick Control button provides rapid access to frequently used parameters. The camera’s interface cable connection point is also a vital external component. Familiarizing yourself with these controls is fundamental to unlocking the EOS 7D’s full potential and achieving desired photographic results.
Buttons and Dials Functionality
The Canon EOS 7D’s buttons and dials are meticulously designed for efficient control. The Main Dial adjusts settings like aperture and shutter speed, depending on the selected shooting mode. The Quick Control button grants instant access to frequently used functions, displayed on the LCD screen. The Multi-controller facilitates precise navigation through menus and focus point selection.
Dedicated buttons manage ISO, white balance, and drive modes. The SET button confirms selections, while the MENU button opens the full menu system. Understanding the interplay between these controls, especially when using an interface cable, is crucial. Mastering these functionalities allows photographers to quickly adapt to changing conditions and capture optimal images with the EOS 7D.
Understanding the Mode Dial
The Canon EOS 7D’s Mode Dial is central to controlling shooting parameters. ‘P’ represents Programmed Auto, offering automatic settings with user override. ‘Av’ (Aperture Priority) allows control over depth of field, while ‘Tv’ (Shutter Priority) governs motion blur. ‘M’ (Manual) provides full control over both aperture and shutter speed.
Additional settings include Auto, Scene modes (portrait, landscape, etc.), and custom User Defined modes. The ‘B’ setting enables Bulb mode for long exposures. Familiarizing yourself with each mode’s function is vital for achieving desired creative effects. Correctly utilizing the Mode Dial unlocks the EOS 7D’s full potential, adapting to diverse photographic scenarios.
Setting Up Your Canon EOS 7D
Begin by inserting the battery and a compatible memory card. Initial configuration involves setting the date, time, and preferred language via the camera’s menu system.
Inserting the Battery and Memory Card
To begin, locate the battery compartment on the bottom of your Canon EOS 7D. Ensure the camera is powered off before proceeding. Gently slide the battery compartment latch to unlock and open the compartment door. Insert the battery pack, aligning the metal contacts and sliding it into place until it clicks securely.
Next, find the memory card slot, typically located alongside the battery compartment. Open the memory card slot cover. Insert a compatible memory card (such as a CompactFlash card) into the slot, ensuring the correct orientation – usually label-side up. Gently push the card in until it locks into place with a click. Close the memory card slot cover and the battery compartment door, securing the latches. Your EOS 7D is now ready for power!
Initial Camera Settings Configuration
Upon powering on your Canon EOS 7D for the first time, a setup screen will guide you through initial configurations. First, select your preferred language from the displayed options. Next, set the correct date and time; accurate settings are crucial for proper image metadata. Confirm the time zone to ensure synchronization.
The camera will then prompt you to customize shooting settings. Consider selecting your desired image quality (RAW or JPEG) and image size. Explore the menu to adjust autofocus settings and metering modes based on your shooting preferences; Familiarize yourself with the custom functions to personalize your camera’s operation for optimal performance and workflow.
Date, Time, and Language Setup
Accurate date and time settings are fundamental for correct file naming and chronological organization of your photos. Access the camera’s menu to locate the date/time setup options. Begin by selecting your region to ensure the correct time zone is applied. Then, input the current date, following the year/month/day format.
Next, set the precise time, utilizing the hour and minute adjustments. Finally, choose your preferred display language from the available list. Proper language selection ensures a user-friendly interface. Confirm all settings to save your preferences, guaranteeing accurate metadata embedded within your images.
Shooting Modes and Exposure Control
The Canon EOS 7D offers diverse shooting modes, including automatic and manual options (Av, Tv, M), providing flexible exposure control for varied photographic scenarios.
Automatic Shooting Modes
The Canon EOS 7D simplifies photography with a range of automatic shooting modes, ideal for beginners or situations demanding quick results. These modes intelligently analyze the scene and adjust camera settings accordingly. Scene Intelligent Auto mode is a standout, recognizing various subjects like portraits, landscapes, and sports, optimizing settings for each.
Further options include Portrait mode, emphasizing subject clarity with a blurred background, Landscape mode, prioritizing sharpness and vivid colors for expansive views, and Sports mode, utilizing faster shutter speeds to freeze action. The Flash Off mode disables the built-in flash, while Creative Auto allows some user control over background blur and creative effects, bridging the gap between full automatic and manual operation. These modes ensure consistently good results with minimal effort, letting you focus on composition and capturing the moment.
Aperture Priority (Av) Mode
In Aperture Priority (Av) mode on the Canon EOS 7D, you, the photographer, control the lens aperture, directly influencing the image’s depth of field. The camera automatically selects the appropriate shutter speed for correct exposure. A wider aperture (lower f-number like f/2.8) creates a shallow depth of field, ideal for isolating subjects with a blurred background – perfect for portraits.
Conversely, a narrower aperture (higher f-number like f/16) yields a greater depth of field, keeping more of the scene in focus, suitable for landscapes. Av mode provides creative control over the aesthetic look of your images, allowing you to prioritize either background blur or overall sharpness. It’s a powerful tool for artistic expression while still benefiting from the camera’s automatic exposure assistance.
Shutter Priority (Tv) Mode
Shutter Priority (Tv) mode on your Canon EOS 7D empowers you to dictate the shutter speed, controlling how motion is captured. The camera then automatically adjusts the aperture to achieve proper exposure. Fast shutter speeds (e.g., 1/1000s) freeze action, perfect for sports or wildlife photography, eliminating motion blur.
Slower shutter speeds (e.g., 1/30s or longer) intentionally blur motion, conveying a sense of movement or creating artistic effects like light trails. Tv mode is invaluable when you need to precisely control the depiction of motion within your photographs. Remember to consider the impact on depth of field as the aperture changes automatically.
Manual (M) Mode
Manual (M) mode on the Canon EOS 7D grants you complete creative control over both shutter speed and aperture. This mode requires a thorough understanding of the exposure triangle – the interplay between ISO, aperture, and shutter speed. You independently set each parameter to achieve your desired exposure and artistic vision.
M mode is ideal for challenging lighting situations or when you want to override the camera’s automatic settings. It allows for consistent exposure across a series of shots and precise control over depth of field and motion blur. Mastering M mode unlocks the full potential of your camera, enabling truly personalized photography.
Focusing and Image Quality
Explore autofocus options, select RAW or JPEG settings, and adjust ISO sensitivity for optimal image quality and noise reduction on your EOS 7D.
Autofocus Modes and Selection
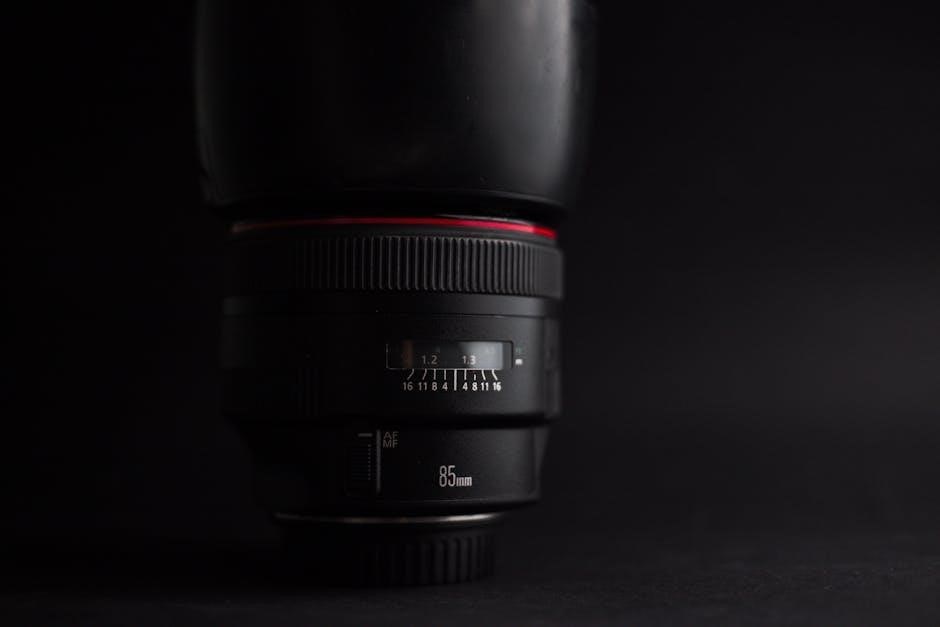
The Canon EOS 7D offers a variety of autofocus (AF) modes to suit different shooting scenarios. Understanding these modes is crucial for capturing sharp, well-focused images. Select from One-Shot AF for stationary subjects, AI Servo AF for tracking moving subjects, and AI Focus AF, which automatically switches between the two.
AF point selection is equally important. You can choose from automatic AF point selection, spot AF for precise focusing on a small area, partial AF, flexible AF points allowing custom point placement, and zone AF for focusing within a defined zone. Experiment with these options to determine which best suits your photographic style and the demands of your subject matter. Proper AF mode and point selection will significantly enhance your image quality.
Image Quality Settings (RAW vs. JPEG)
The Canon EOS 7D allows you to choose between shooting in RAW and JPEG formats. JPEG files are compressed, resulting in smaller file sizes and are ready for immediate use, but offer limited editing flexibility. RAW files, conversely, contain all image data captured by the sensor.
This provides maximum flexibility for post-processing adjustments like white balance, exposure, and color correction without significant quality loss. While RAW files are larger and require processing in software like Digital Photo Professional, they are ideal for serious photographers seeking optimal image quality and control. Consider your workflow and editing needs when selecting your preferred format.
ISO Sensitivity and Noise Reduction
The Canon EOS 7D offers a range of ISO settings, controlling the camera’s sensitivity to light. Lower ISO values (like 100) produce cleaner images with minimal noise, ideal for bright conditions. Higher ISO settings (up to 6400) allow shooting in low light, but introduce more digital noise.
The camera also features noise reduction technology to minimize this effect. You can adjust the level of noise reduction in the menu, balancing noise suppression with image detail preservation. Experiment to find the optimal setting for your shooting conditions and desired image quality. Understanding ISO and noise reduction is crucial for achieving optimal results.
Advanced Features and Customization
Explore custom functions and menus for personalized control. Adjust picture style settings and white balance to refine image appearance, enhancing creative possibilities.
Custom Functions and Menus
The Canon EOS 7D offers extensive customization through its custom functions and menus; These allow photographers to tailor the camera’s operation to their specific shooting style and preferences. Users can reassign controls, adjust autofocus behavior, and modify display settings.
Navigating the menu system is crucial for unlocking the camera’s full potential. The menus are logically organized into sections, covering shooting, autofocus, exposure, quality, and setup options. Understanding each menu item and its associated settings is key to achieving desired results. Experimentation with custom functions enables a streamlined workflow, optimizing the camera for various photographic scenarios. Refer to the detailed manual for a complete list and explanation of each customizable feature.
Picture Style Settings
Canon’s Picture Style settings are a powerful tool for controlling the look of your images directly within the camera. These presets – Standard, Portrait, Landscape, Neutral, Faithful, and Monochrome – adjust sharpness, contrast, color saturation, and tone. Each style caters to different subjects and artistic visions.
Beyond the presets, users can create and save up to three custom Picture Styles, fine-tuning individual parameters to achieve a unique aesthetic. This allows for personalized image rendering without post-processing. Understanding how each parameter affects the final image is essential for effective use. Experimenting with these settings unlocks creative control, delivering images that match your desired style directly from the camera.
White Balance Adjustment
Accurate white balance ensures colors are rendered naturally, regardless of the light source. The Canon EOS 7D offers several white balance presets – Auto, Daylight, Cloudy, Shade, Tungsten, Fluorescent, Flash, and Custom. Auto White Balance (AWB) is convenient, but can sometimes be inaccurate.
For precise control, use the Custom white balance setting. This involves pointing the camera at a white or gray card under the current lighting conditions. This allows the camera to establish a neutral baseline. Fine-tuning the Kelvin temperature is also possible for even greater accuracy. Correct white balance is crucial for achieving realistic and pleasing colors in your photographs.
Troubleshooting Common Issues
This section addresses Canon EOS 7D error messages, connectivity problems (USB, HDMI), and offers guidance on maximizing battery life and power management.
Error Messages and Solutions
Encountering error messages on your Canon EOS 7D can be concerning, but many are easily resolved. Common errors often relate to the memory card – ensure it’s properly inserted and not write-protected. If you receive a card error, try formatting the card within the camera (after backing up its contents, of course!).
Other errors might indicate lens communication issues; reattach the lens, checking for proper alignment. If the problem persists, clean the lens contacts. System errors sometimes require a camera reset to factory defaults (refer to the full manual for instructions).
For persistent or unfamiliar error codes, consult the comprehensive error code list within the official Canon documentation or their support website for detailed troubleshooting steps and potential solutions.
Connectivity Problems (USB, HDMI)
Experiencing difficulties connecting your Canon EOS 7D via USB or HDMI? First, verify the cable itself is functioning correctly with another device. For USB connections, ensure Canon’s EOS Utility software is installed and up-to-date on your computer. Try different USB ports, avoiding hubs if possible.
HDMI issues often stem from incorrect TV input selection; cycle through your TV’s inputs to find the correct one. Confirm the HDMI cable is securely connected to both the camera and the display.
If problems persist, check the camera’s menu settings for HDMI output options and ensure they align with your display’s capabilities; A camera reset can sometimes resolve communication glitches.
Battery Life and Power Management
Maximizing your Canon EOS 7D’s battery life is crucial for extended shooting sessions. Avoid prolonged use of Live View and the LCD screen, as these consume significant power. Utilize the optical viewfinder whenever possible. Disable unnecessary features like image stabilization when not required.
Consider carrying a fully charged spare battery, especially during travel or events. Store batteries in a cool, dry place. Canon recommends using genuine Canon batteries and chargers for optimal performance and safety.
Enable the Auto Power Off function in the camera’s menu to conserve energy during inactivity. Regularly check the battery indicator to anticipate low power levels.